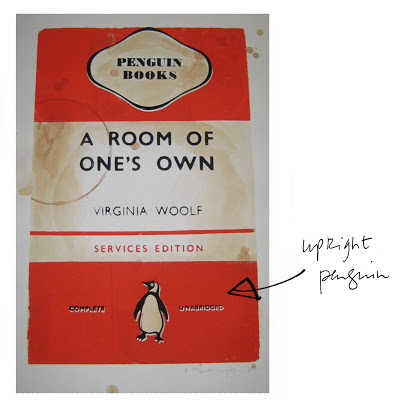
Here is the Room of One's Own printNote upright penguin!
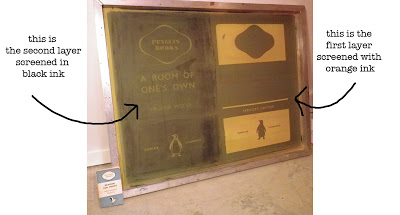
Here is the screen used to make it.
Close up of Upright penguin on screen
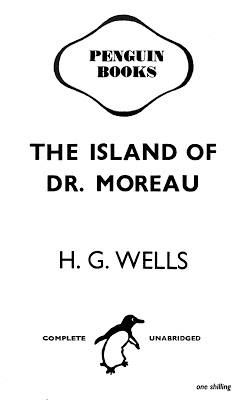
Here is the title requested by Paul
Step1: Create your image.
Step 2: In Photoshop separate the image out into layers; one for each colour.
Step 3: Make each layer 100 % black as in below:
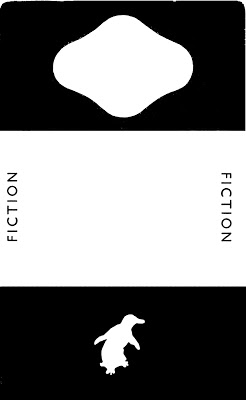
Layer one will be screened in orange Layer two will be screened in black
I am finally getting down to creating a custom print ordered by
Paul Buckley, Creative Director of Penguin books USA. When I created my first series of prints I chose to use the
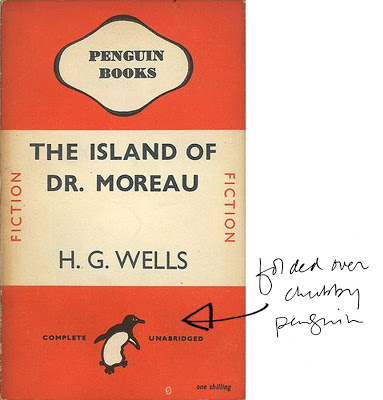
"upright penguin"with all the titles which meant that I could use the same large screen for all 4 prints. The cover Paul has requested however contains the
"chubby folded over penguin" rather than the upright one which means I need to make a brand new large screen. Above I have listed the steps in beginning to make a new screen. When you have completed the 3 steps as in above Step 4 is to create
"film" by transfering the image onto
acetate.Because my image is so large I need go to a print shop to have it enlarged. My favourite printer for this task is
Midtown reproductions on Adelaide St. in Toronto.